Editing the WooCommerce shop page allows you to customize your online store to better match your brand and meet the needs of your customers. WooCommerce, being one of the most popular e-commerce platforms for WordPress, offers a great deal of flexibility in how your products are displayed. Whether you’re a seasoned web developer or a small business owner just getting started, customizing your shop page can seem like a daunting task. However, with the right tools and a bit of guidance, you can create a unique and engaging shopping experience for your customers. In this article, we’ll explore different methods for editing your WooCommerce shop page, including using the ShopLentor plugin, the Theme Customizer, page builders like Elementor, and custom code.
Editing with ShopLentor Plugin
ShopLentor is a versatile plugin that offers extensive customization options for WooCommerce. It allows you to design and enhance your shop page with ease.
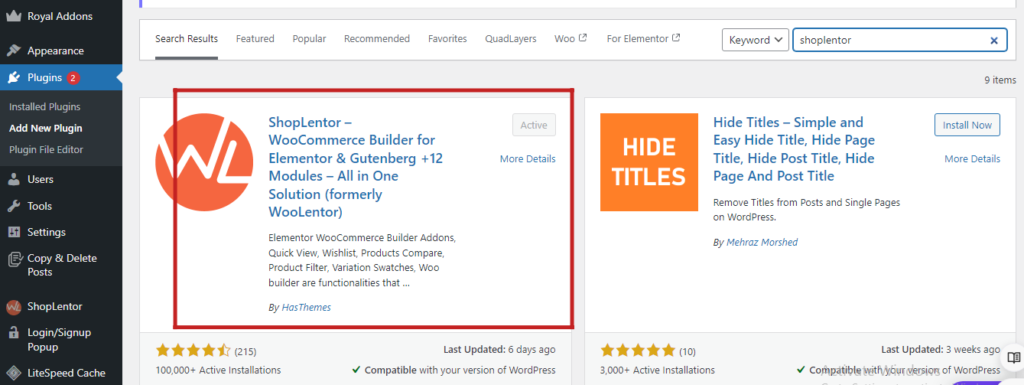
Install and Activate ShopLentor: First, go to your WordPress dashboard, navigate to Plugins > Add New, and search for “ShopLentor.” Install and activate the plugin.
Access ShopLentor Settings: Once activated, you’ll find the ShopLentor settings under the WooCommerce tab in your dashboard. Click on it to explore various customization options.
Customize Shop Page Layout: ShopLentor provides a drag-and-drop interface to customize the shop page. You can add, remove, or rearrange elements such as product grids, filters, and banners.
Style Your Shop Page: Use the styling options to change colors, fonts, and spacing to match your brand’s aesthetic. ShopLentor also allows you to add custom CSS for advanced styling.
Preview and Publish: After making the desired changes, preview your shop page to ensure everything looks good. Once satisfied, publish the changes.
Editing with Theme Customizer
The Theme Customizer in WordPress provides a more straightforward way to make basic changes to your WooCommerce shop page without the need for additional plugins.
Access Theme Customizer: Go to Appearance > Customize in your WordPress dashboard to open the Theme Customizer.
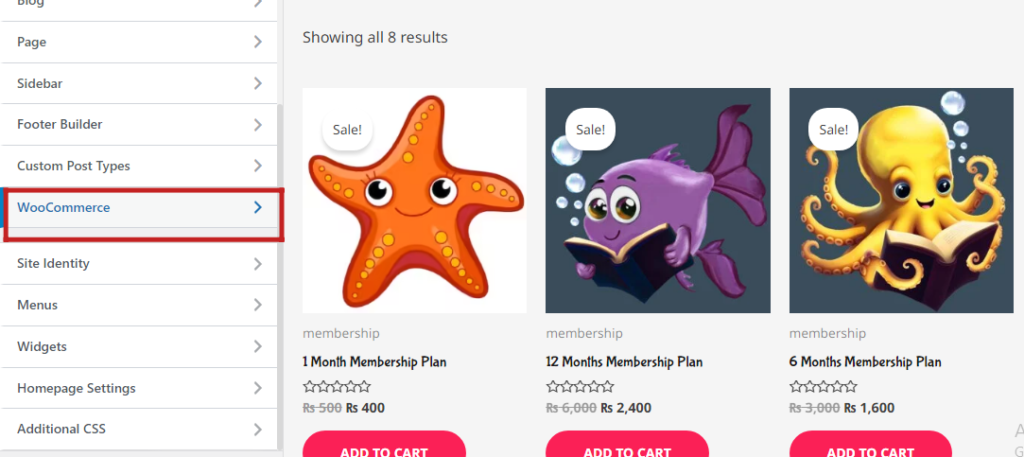
Navigate to WooCommerce Settings: In the Customizer, find the WooCommerce tab. Here, you can access various settings related to your shop, such as Product Catalog and Product Images.
Adjust Shop Page Settings: Under Product Catalog, you can configure how products are displayed on your shop page. Options include choosing the number of products per row, the number of rows per page, and sorting options.
Customize Colors and Typography: Use the Additional CSS section to further customize the appearance of your shop page. You can add custom styles to change colors, fonts, and other design elements.
Preview and Save Changes: As you make adjustments, you can preview the changes in real-time. Once you’re happy with the look, click the Publish button to apply the changes.
Editing with a Page Builder Plugin (Elementor)
Page builders like Elementor offer powerful customization capabilities for your WooCommerce shop page, allowing you to create a completely unique design.
Install and Activate Elementor: If you haven’t already, install and activate the Elementor plugin from the WordPress repository.
Install Elementor Pro: To fully customize your WooCommerce pages, you’ll need Elementor Pro, which includes WooCommerce widgets and templates.
Create a New Shop Page Template: Go to Templates > Add New in the WordPress dashboard. Select “Product Archive” as the template type and choose a pre-designed layout or start from scratch.
Add WooCommerce Widgets: Use Elementor’s drag-and-drop interface to add WooCommerce widgets like Product Grid, Product Categories, and Sale Products to your shop page.
Style Your Shop Page: Customize the appearance of each widget using Elementor’s styling options. Adjust colors, fonts, margins, and padding to match your brand.
Set the New Template as Default: Once you’re done designing, save the template and set it as the default shop page template under the Display Conditions settings.
Editing with Custom Code
For those with coding knowledge, editing the WooCommerce shop page with custom code offers the most flexibility.
Create a Child Theme: Before making any changes, create a child theme to ensure your customizations aren’t lost when the parent theme is updated.
Locate Template Files: WooCommerce templates are located in the wp-content/plugins/woocommerce/templates directory. Copy the relevant template files (such as archive-product.php) to your child theme.
Modify the Template Files: Open the copied template files in a code editor and make the necessary changes. You can add custom HTML, PHP, and CSS to modify the layout and appearance of your shop page.
Add Custom CSS: If you only need to make minor styling changes, you can add custom CSS directly to the style.css file of your child theme or use the Additional CSS section in the Theme Customizer.
Test and Deploy: After making your changes, test the shop page thoroughly to ensure everything works as expected. Once satisfied, deploy the changes to your live site.
Conclusion
Editing your WooCommerce shop page is essential for creating a unique and user-friendly online store. Whether you use plugins like ShopLentor and Elementor, the built-in Theme Customizer, or custom code, you have various options to tailor your shop page to fit your brand and enhance the shopping experience for your customers. Each method offers different levels of customization and complexity, so you can choose the one that best suits your skills and needs. With these tools and techniques, you can create a WooCommerce shop page that stands out and drives sales.